3.22.2011

Refinish, restore, refresh…


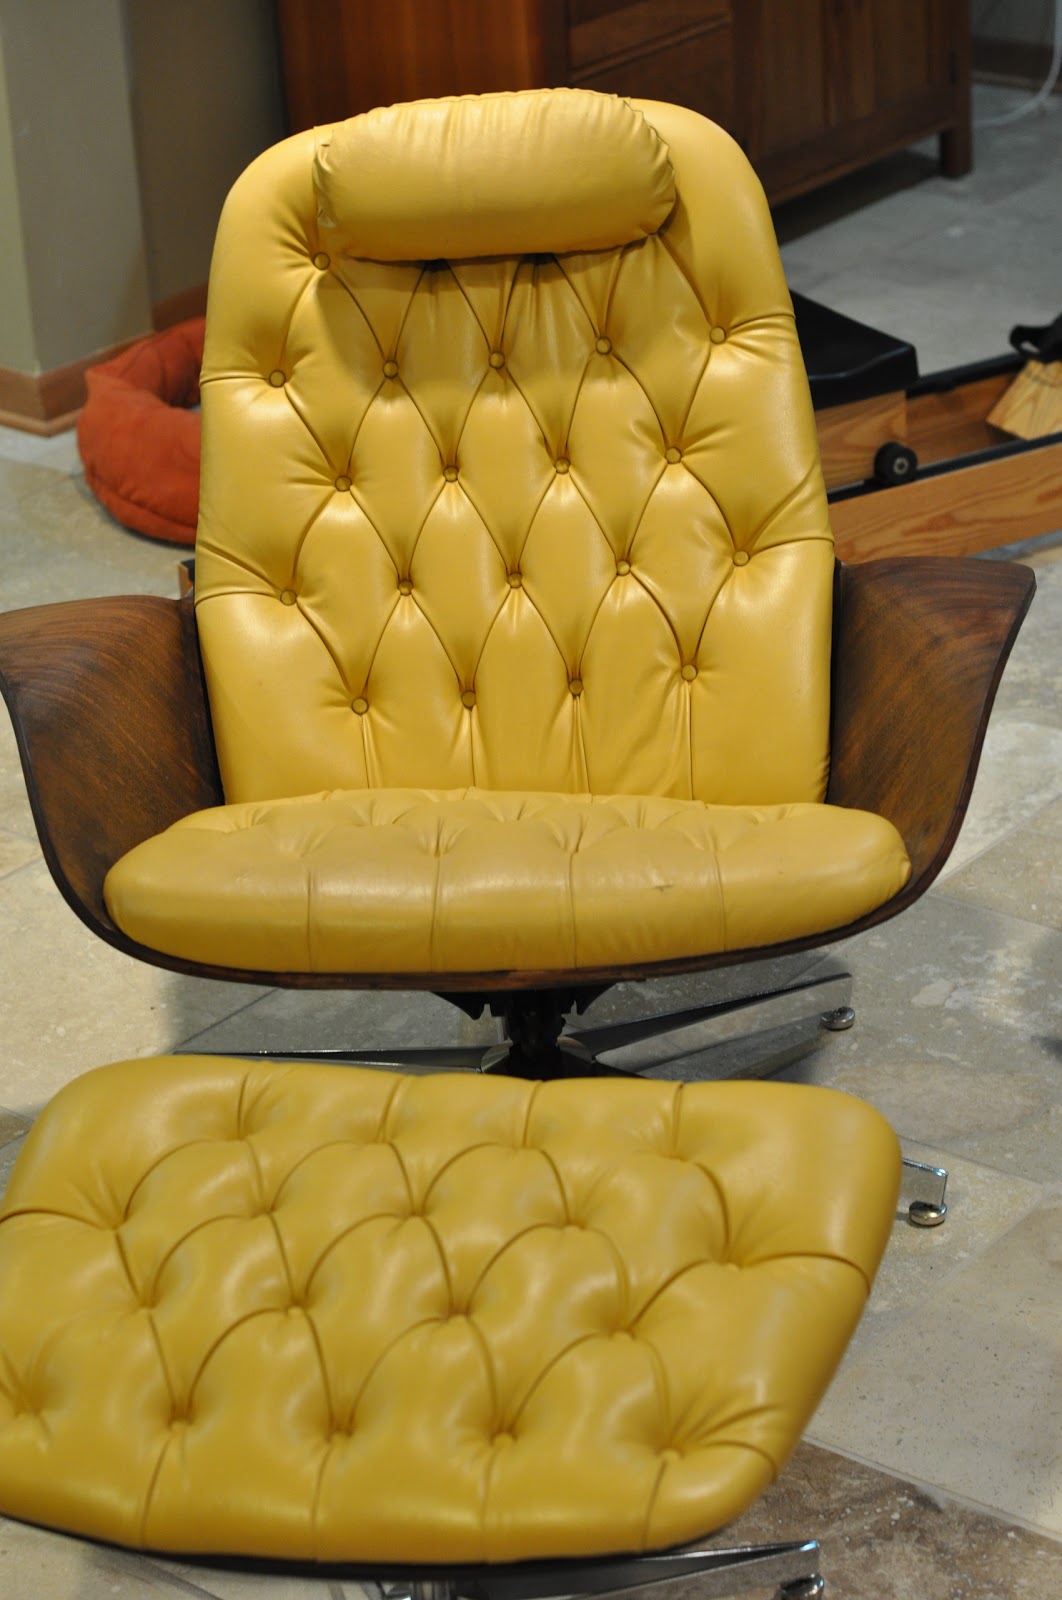
Teak Arm Chairs for Unknown by Unknown – 1950s (est.).   These chairs are a simple beauty in the eye of the beholder story.   I wish I had a before picture as the story would be easy to see.   The seller purchased and used these chairs as a bridge to the designer chairs he really wanted.  When the kids left for school, these were out and the named chairs were in.   For this reason, he never truly cared for these very nice chairs, and moreover didn’t care to pay to have the totally worn (and ugly, really ugly) cushions redone.    This was understood and the chairs were priced accordingly.  

The work (my work) was pretty simple.   There was no reason to do a total rework on these as some simple teak oil coating brought the wood back to life.    The cushions were another story.   The foam was dead and the zippers were not working.   New cushions were an easy decision.   It is important (to me at least), to keep things correct, namely to use period correct fabric when reupholstering is called for.  In this case, I went with a manufacturer who has been making Danish fabrics for many decades.    None of my projects are without a story, and this one is no different.  I decided it best to order the fabric direct from the manufacturer and then farm out the work to a local upholstery shop.    UPS tracking said the fabric was delivered, but I could not find it at my house despite an (overly) extensive search of all surrounding bushes.   Always read the fine print – a few misplaced numbers and names, and the fabric ends up on the other side of town.    Luckily I was able to find the person at the wrong address and of course my fabric.  

In all, I am into these chairs to a level that is probably fair value, so this is not a “value creation” project.   As with the person I purchased these chairs from, these chairs are going to end up as a bridge to another set of chairs that I would find months after having these reupholstered.  I would be happy to discuss my thoughts on fabric suppliers and upholstery shops with interested parties.  

3.15.2011

Refinish, restore, remember…


Mr. Chair for Plycraft by George Mulhauser – 1950s.   Mulhauser, and Plycraft for that matter, are probably best known as the mind(s) behind one of the better selling knock-offs of the seminal Eames Lounge Chair.   While not a bad chair in and of itself, the original is infinitely more palatable (flow, dimensions, etc.).    What has gone missing, at least to me, is the genius of the Mr. Chair.   Mr. Chair is an original design of the same era of the Eames Lounger.    One cannot help but wonder how Plycraft, and Mulhauser for that matter, might be seen had they come to be known for things like Mr. Chair instead of being the poor man’s Eames.   Fair disclosure – I have an Eames Lounger, and bought this as I wanted another of era original lounge chair that was meaningfully different.

While advertised as ready to roll, this one took some work, and will need more as the mechanical pieces are not an easy fix.  The seller (and his friend) started picking up items are garage sales over ten years ago (an “OG” if you will).   With baby #2 on the way, he was politely told that it was time to start getting rid of some stuff.   He wanted at least $250 for it, and I was able to take it home for $250 as the seller ended up living in my neighborhood and he also seemed to like that I planned on giving his old chair some TLC.   As with other projects, being “real” in the sourcing phase pays dividends.    This guy came to me in pretty bad shape – the arms were fully covered with the original yellow naugahyde (swank baby, swank), and the plywood was raw, dry.   The chair is essentially just a few pieces of cleverly bend ply with cushions – all hardware is exposed.   I decided to take it apart and refinish everything.   The back of the chair has a significant abrasion.  I was able to fill it and smooth it, but the scar is easy to see.   In addition, the seat panel of the chair was damaged by over-tightening of the base structure hardware some years ago.   I was able to fix most of the damage, but it remains another scar.    I decided to stain the ply dark as it appears that this was the designer’s original intent.  I also decided to keep the yellow pads – they look much better against the darker exposed wood that I expected.  As for the mechanical – the seat adjustment mechanism is missing what I assume to be a large rubber stopper.   I will need to keep an eye open for something that will work as original parts are hard to come by.   In the mean time, sitters need to be mindful of the lack of dampening as the chair rocks back into lounge position. 

I think a lot of people would have been upset to find the scars on this chair during the reworking process.  As with many of my other pieces, I like the story, especially the story of the designer and manufacturer.  It seems only fitting that this chair be a little less perfect than my Eames Lounger.  This is another beauty in the eye of the beholder case study, especially after the scars were discovered.        

In all, I am into this guy for $250 and a few days of work.   This is difficult to comp given the scars.   Models that claim to be in good shape appear to go for as much as ~$1,000.   I think $500 is probably fair for mine, especially as the models I have seen out there are all very plan black upholstery and mine has the swank yellow.

I am not looking to sell this chair at current, but if you are interested in finding one, or something similar, please ping me on the blog and we can go from there.  Given the extensive work I did on mine, I will also claim to be one of the few people around who has working knowledge of this chair to refinish another.  

3.08.2011

Retask, reclaim, rethink…


Design Idea – Wine Corks.  Wine cork presentation is an easy way to add warmth and dimension.   As with the bottles I mention in another post, the shape is pleasing to the eye.   Corks are another interesting way to add round and curved shapes to a room, which isn’t easy.   Natural cork is also not as prevalent as it once was, making the presentation almost a form of antiquing.  

Here I show a few ways we use old bottles.   In the first, I simply fill a clear vessel with corks and display them among other objects.   In the second, I have taken the corks and created a custom cork board.  The frame was built using remnant tongue and groove flooring and some thin plywood as the backing.    One could just as easily use a store-bought new or vintage frame and some cardboard to create the structure and simply glue corks on as you see fit.     

A special thanks to Chase for getting me the pics of the cork board.